Sunday, October 6, 2013

A few 16" perch bodied trolling baits.

As time goes, I was able to finish up the four 16" perch baits from 2011. They are a mix of green, black and copper variegated leaf, along with gold and silver. The black outline was free hand. I just keep trying to do more in the free hand style, so I can learn how to paint. Good, bad or indifferent. 

One thing that I have noticed, is that the leaf and or foil achieves a flash that is almost impossible to get with just paint. Even with the Kandy colors over it, it still reflects light better than just paint. The little extra effort to apply foil or leaf is minimal compared to what is gained in the finished result.

 Left is green variegated. Right is copper variegated

 Left is copper variegated. Right is black variegated.


Two worm tails, two flashabou.


The second picture from the top, green silver bait, has two line ties. I made the traditional nose tie and a line tie in the lip/ bib, all thru wire. I just want to be able to see what really changes in action and depth, if anything?
The magnum flashabou tails, are an attempt at something different. They do look great in the water! 
These are tied just like you would tie a spinner, except it's on a hook.

Some magnum flashabou spinner baits
Three light tied flashabou spinners.
Three heavy tied flashabou spinners.

There is a mix of light, medium and a little thick flashabou on these tails. So far I prefer the medium thickness in the water. It is a different movement than the bait and has good flash in sun light. I like this on casting and trolling lures.

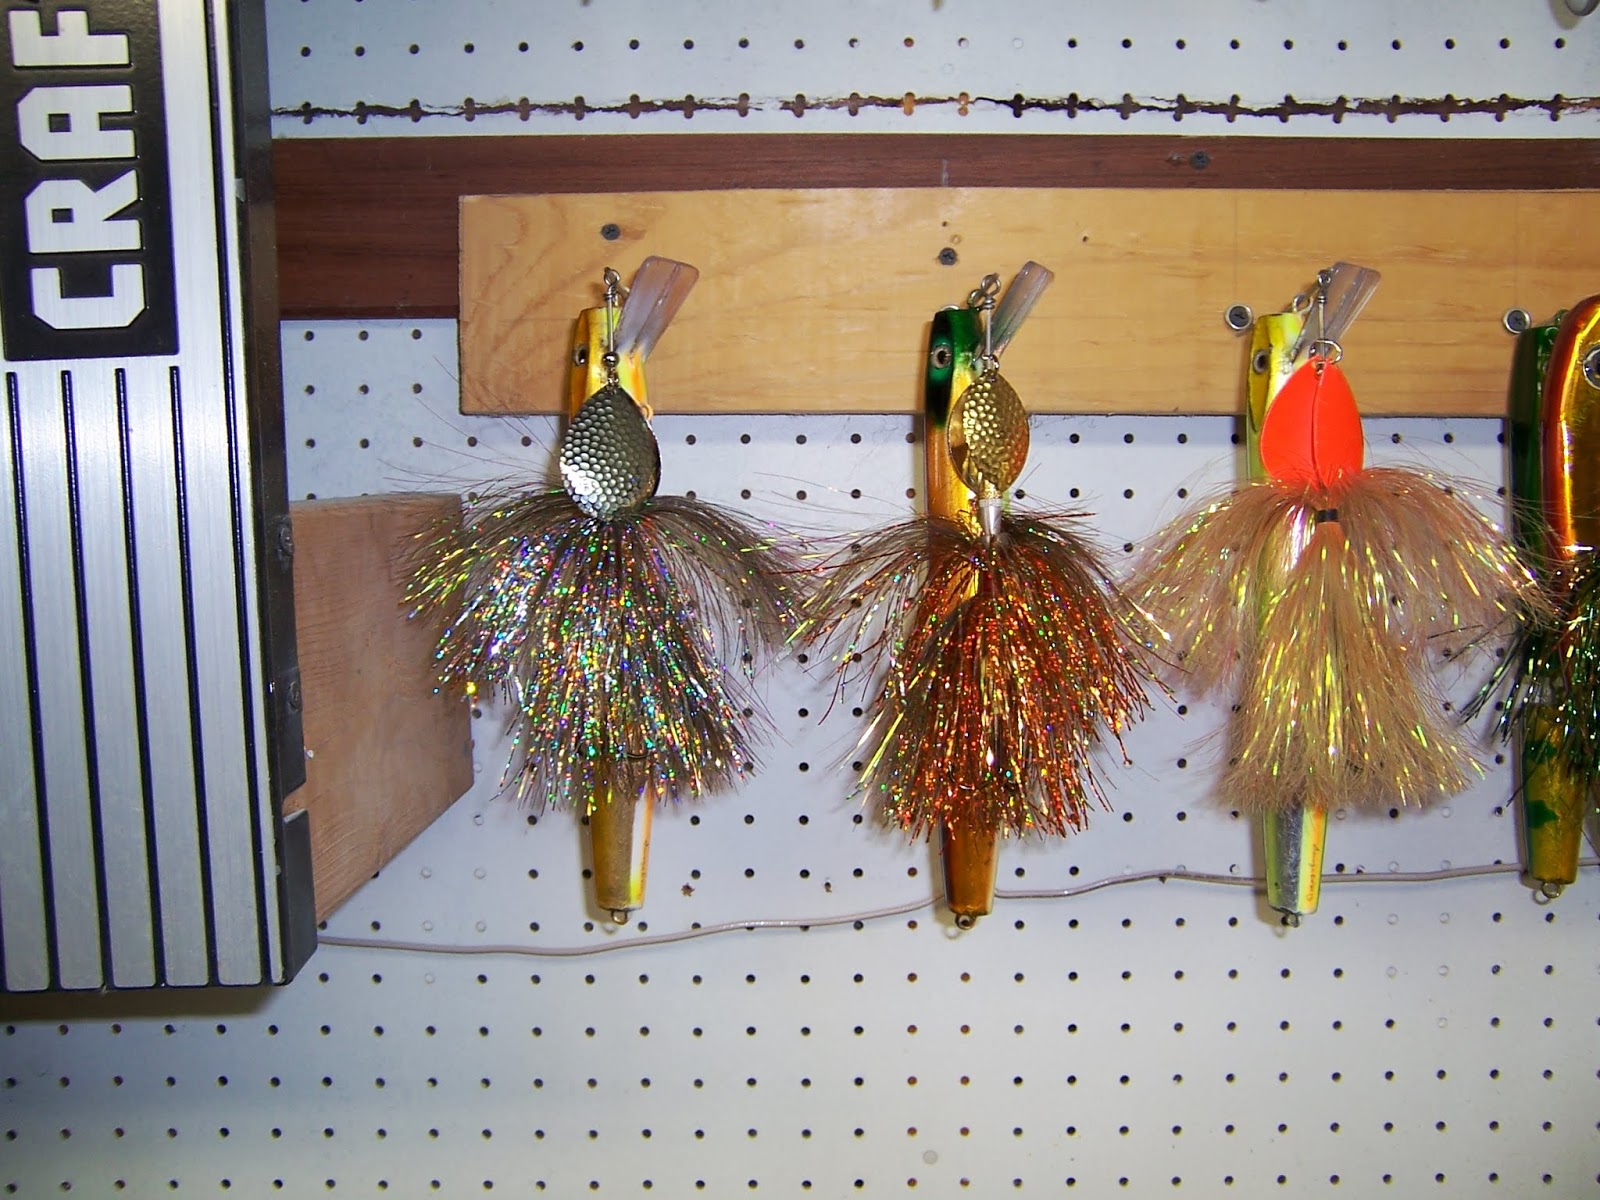
Nokies with light flashabou tails. 

Two Jakes, a few Nokies and some Mag Shads.

The batch.

( Keep it in the Water )
/

Sunday, August 25, 2013

Adding More Weight 2013.

Well I finally managed to find some time , and get to adding the extra weight to the 6" jerk / gliders and cranks from last year!

This is the batch, plus a few other small cranks not in the photo.

If you recall the Aspen baits from last year. I weighted these to what I was hoping was neutrally buoyant, using the Archimedes Dunk test. This was accomplished with the baits sealed but no paint. Evidently my calculations were off enough so these baits did not work. Now, knowing that all are very close to neutrally buoyant, I weighed the completely finished lure, then added weight to get to the desired buoyancy in a bucket of water.  I was using some small string like lead , wrapped on the hooks. This also allowed me to move the weight from hook to hook, to see if it would be better placed at the front, back, or middle of the bait.
I think the placement of weight is as critical as the weight itself, for jerks and gliders. These went from 2 to 4 grams. This is not a lot of weight, but it made a big difference. A few did turn into sinkers, but the sink rate is so slow it really works well on jerks and gliders.

OK, back to it. I had the amount of weight to add, so I stripped the bait of hardware, weighed it again and added the amount from the weight test. You are drilling a hole in the finished bait to do this. Pour the lead in, seal the spot with some epoxy and touch it up the best you can. The fish will not care.
Until I can really fine tune the process better before paint, this is were I am at. The end result is they work well, now!

( Keep it in The Water )


Sunday, June 30, 2013

Ready for first run to Green Bay Wisc.

Well, as I had said, I am looking to do a little more fishing this year rather than making baits. The foil and leaf lures that I made over the winter are done and we are going to Green Bay for the Fourth of July. This is a good start for us, even though weather has delayed where Muskie should be about now.
There has been a lot of cool temperatures and an over abundance of rain. We are going, and will make the best of it.
These pictures are of the finished baits I worked on over the winter and a few Magnum Flashabou tails I tied up today in preparation for, I have no idea what to expect fishing!!! The Nokies, Jakes and Mag Shad will stay home until later in the year.
 
Small Magnum Flashabou tails


Three more of the same

A few leaf Nokies

A couple of Nokies and Mag Shad

Two 10" Jake's in Prism tape

Batch of 6" shad

Same different angle

Same 
None of the baits/lures pictured here or even from last year, are of the quality that I would normally turn out to satisfy myself, but I am sure they will satisfy a Musky.
As with the pictures of Franks lures in leaf, take your time and be diligent and you can achieve near perfection!

( Keep it in the Water)

Sunday, May 12, 2013

How to install lips ( Bibs ) in a Musky bait?

I received an E-mail asking how to install lips in a musky bait. First, the process is whatever you want to make it, there are no right or wrong ways to make baits. It really becomes, what do you want to create.

I have made lure lips with aluminum and Lexan, wire through the lip and lip directly glued into the bait. The lip glued directly into a lip slot has been the main stay. This means the line tie is in the nose of the bait not into the lip. Each produces a different result. You need to know what you want in action and depth before you start. If you are using true through wire construction and are making a line tie in the lip, you have to install the lip and wire at the same time.
 After you have determined line tie placement, action and depth, you now have the angle you want  for the lip. The most used angle for Muskie lures is a 45 degree, my opinion. Use whatever material and thickness you desire. Just make sure you have this factored into the weight and balance of the bait. Our lips are predominantly 1/4" Lexan.
When Frank and I started, we were making a knock off of a lure that just wasn't constructed very well., this in it's self gives you all the information you need. Simple, Simple, almost. Our goal was to make it better!


The process for us, was to cut a lip slot into the blank, while it was still square. We have a radial arm saw and this needs a flat, square surface to be accurate. If the slot is not square to the body, it is not going to run right. The lips them selves may be purchased from a few different places. We decided to make our own. Frank made up a tool, using a die grinder and a laminate bit to cut patterns from a die of the lip we use. Cutting lips is the most fun ever! If you can afford it, just buy them. You do have to match the lip thickness to a blade if you are using a power saw, you want just enough room to apply the correct thickness of adhesive. In the beginning this was epoxy, now we have been using Gorilla glue. The stuff is really as strong or stronger for this application.
After every thing is completed, cutting,shaping,sanding the lip goes in. Some folks like to wait until after paint, we have been installing lips before primer, just our way. You have to remember we normally produced 60 to 120 baits at a time, when there were four of us doing it. Now day's it is Frank and me. 
There are wood racks to hold the baits for this process, we call them hotdog boards. They look exactly what it sounds like, These are also used when the through wire belly slot get's filled with epoxy.
   
Whether it be aluminum or plastic the lip area that is in the lure get's scuffed. If it is a through wire bait, you may have to notch the lip for the wire. Drill a hole at the bottom of the cut, same size as the cut is going to be. You do not want a square end cut at the bottom of your cut. This will lead to a cracked lip later.
We have also made a few different lip jigs over time. These are about 14" long, 2" tall and only as wide as a lure. The front has a fixed 45 degree angle plate, except for one that is movable for different lip angles.
When we start to install lips, they all get marked with center lines. This  becomes helpful in the jig we are using to center the lip in the bait. All this is done to try and make the lip attachment as straight  as possible.

There are probably more people who glue the lip in after paint than before paint and cut the lip slot in with a hand saw. It all works. No matter what product you choose to adhere the lips to the bait, remember to leave room for it. There is a minimum film thickness for any adhesive to bond properly. If you have to pound the lip into the slot, it is to tight! The installation process can be whatever you want it to be. The alignment of the lip to the bait is the important part.  This is a simple box design idea. Shrink these sizes down to accommodate your baits.

Take four 3/4" x 2- 1/2" hardwood boards. You need two for the sides, one for the bottom, and one for the angle. On a fixed table type saw, cut a 22-1/2 degree angle on the ends of two pieces. On these two, find and draw a center line, cut it in lightly if you can. This becomes the center line of your bait and lip when you are installing it. Figure out the thickness of your bait, you want this snug, not tight. Now split this dimension on the center line for the bottom piece. Depending on the bait and lip type, you may need to hold the sides back from the front edge. Set a bait on it and determine where it should start. The lip should just touch the edge of the 22-1/2 degree angle.  Pre Drill holes and secure the three pieces together, from the under side of the bottom piece.Two inch screws would be best for this. Now determine how long of a board you want for the angle, this is what the lip will be resting on. Cut to size, glue and attach to the other angle
.
At the end of the hotdog board link, there is a shot of the lip jigs. These jigs can be made adjustable, by creating slots in the attachment points. Any kind of material works, as long as it can maintain it's squareness.
   

( Keep it in the Water )
        

Sunday, May 5, 2013

A few Hard Plastic in Leaf, from Frank

These are three of Frank's baits, he has a few more but this is what he had in leaf. I took pictures of the three to show how clean they look. Zoom in on this batch and then zoom in on some of my leaf baits.
You will see that if you sand the lure smooth, wait for the correct tack time, work on one at a time, and be diligent applying the Leaf you can achieve foil quality without the hassle.

My description of hassle is just going by my experience with foil and leaf. Leaf will lay on and follow any contour or design you have on a lure, and is also the down side. With foil you can create a texture or design in the foil, and apply it. You do need to be careful not to rub the texture out of it when rubbing it done.

Silver Leaf

Gold Leaf

Variegated Leaf

Along the same line as foil, leaf, and photo finishes any thing you want to apply to a lure is possible. I was browsing through the Musky Outdoors site and saw some really nice finishes in something called Momi.
I did a little searching and so far, as I understand it, it is a stationary paper. Yes it was a foil type design.
I will have to run some down and see what I come up with.

 Our Creativity is only limited to Our Imagination!
 Have some fun and do something different.

 ( Keep it in the Water )

Wednesday, April 17, 2013

Variegated,silver and gold leaf. Part 2

The second set of videos on using Leaf:

I am going to take a few lines here and explain a few things, I am not a guru or the man behind the curtain, 
I just enjoy making baits. The Blog, pictures and now video, is just what I do, Good, Bad, or Indifferent.
I make contradictory statements about what I do, because it is a learning experience for me like anyone else.
There are things that change as we progress through the learning curve. That is probably what keeps me going, learning, seeing something new or different that I want to try and make.
 OK, enough there.

If you have not already gone through the members list and looked at what everyone has to offer, you are missing out on an opportunity for information and to expand a bit. There are a lot of really cool lures and thoughts out there, enjoy.

This is the second set of videos on using leaf on lures.  

Back ground music is ( Jack Johnson )


I have done leaf baits a few times already, but like a lot of things, the more you do, the more you tend to understand the product,  limitations, and the process. On this batch I realized that the tack time is critical to the finish of the leaf. I have mentioned before that the gold leaf seemed to let the adhesive bleed through if it was not set. Well, the gold just shows it the worst. With this set of lures I did a silver first and it was still to wet, then one gold which was almost ready, then another silver. The third bait was set perfect, and the result was amazing .
The silver leaf looked exactly like a foil, very bright and laid on perfectly. There was a huge difference in the clarity of the leaf. 
Doing four at a time is not what you want to do. Glue one up, wait for it to get close to tack, then glue another one and let it tack up while you are working on the first one. This is of course if you want to work on more than one at a time.
Seems like I hear my Father a lot " Do as I Say, Not as I Do "

If you are going to try some pattens, put the bottom or belly leaf on first, wait a day or at least 5 hour's. Then put your pattern on, this will be an overlay in areas and new in others, but will eliminated blank spots and bleed through.

It really is about information, use it as you will, at your own risk and maybe some interesting results.
Using the leaf products, is rather simple, if you do not try it you are missing out on some great looking baits that are really easy to accomplish. Having fun at what you do, is what it's about. Catching fish on your creation is the perk! 

( Keep it in the Water )    

Sunday, April 7, 2013

Gold,silver and varegated leaf baits. Bonus Video!


Well, coming to the end of the plastic baits that Frank and I had purchased over the winter. I opted to make the entire batch leaf and or aluminum foil. The video that is here, hopefully captures the idea of using gold and silver leaf. I will try an aluminum foil one next. The foil is not as forgiving as leaf and you do need to cut and fold with the foil, on a round lure. The flatter or more square a lure is the easier foil becomes.
                                                                 This is the batch
If you can zoom in on the picture, you can see spots in the silver foil. These are a result of spraying with the Mona Lisa brand acrylic and sanding. I sprayed Envirotech after sanding, and this did not blend back in or coat the same . I would definitely use the Mona Lisa Acrylic to coat the foil and leaf baits. It did not fog the finish like every thing else, and gives a coating you can scuff for paint, just a little pricey for the amount.
.   

So that is the batch ready for some Kandies. I hope the videos show how to do it.

This is my first attempt at a How To Video, so use the information you can extract and forget the presentation!


Back ground comments By Kathy.


Background music by A.A. Bondy

If you do have
questions, please comment and I will try to answer.


Keeping as much of the leaf and foil is my goal, the Kandie paint will be the back and belly. Maybe a fluorescent belly ? You can see the flash the metals give to the lure in the video. This is under fluorescent light, I hope that you are able to in vision what this really looks like in sunlight, it is a flash.
This is an easy way to give any lure some pizazz with a minimal amount of effort. Have fun!

( Keep it in the Water)